VPN
Virtual Private Network or VPN (Virtual Private Network - Wikipedia) is a way to protect all your traffic through an encrypted, secure and direct connection to your server, guaranteeing the confidentiality of your navigation even in the most adverse circumstances (public or unreliable networks).
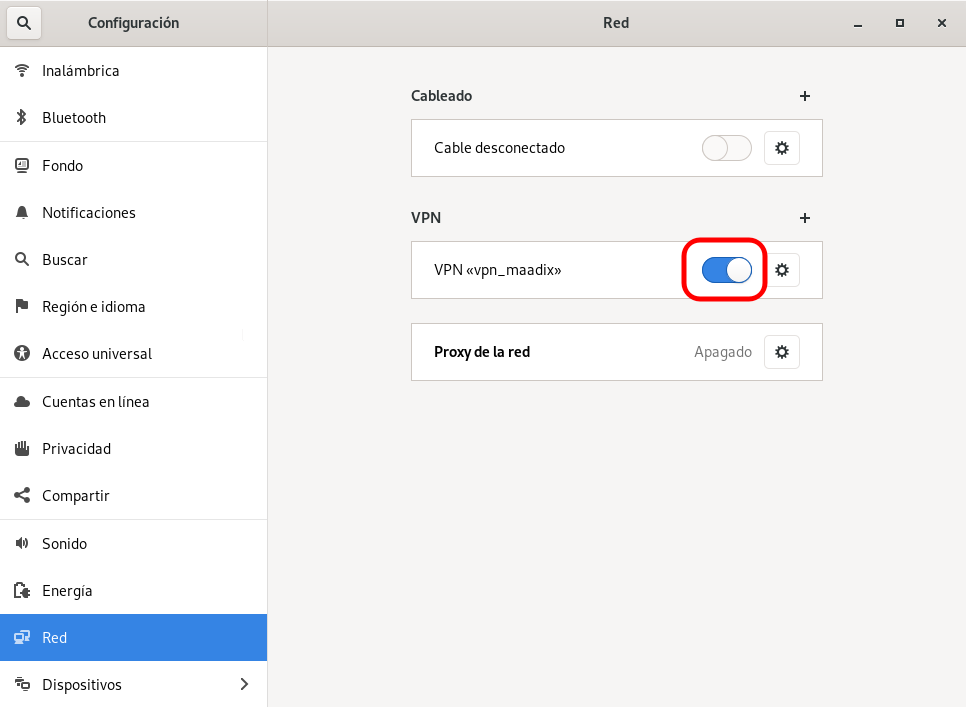
MaadiX’s VPN allows you to connect to your server and manage it using a secure, encrypted connection at all times. In addition, you can also visit any Internet address by channeling your traffic through the server, allowing you to access content that might be blocked in the country where you are physically located.
To start using your MaadiX server’s VPN you must perform three processes:
Install the VPN server (OpenVPN).
Create or edit a user from your control panel to give them access to the VPN.
Install a ‘client’ program on the device you want to connect to the VPN.
These operations are explained step by step below, without which you will not be able to enjoy the benefits of a VPN connection.
Installation of the VPN server
From the control panel, go to ‘Install Applications’, there you will see all the applications available to install, including the VPN Server (OpenVPN). Just check the box ‘Select’ and click on the ‘Install’ button.
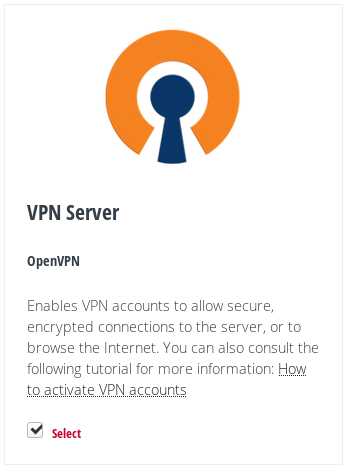
Installation of the VPN server.
After a few minutes of installation you will have your VPN server installed in Maadix.
Create or edit an account
Once in the control panel, go to the tab ‘Users’ > ‘Regular users’. There you can edit an existing account or create a new one.
Among the options available within the edit panel, you will see ‘Activate VPN Account’. Check this box to activate the VPN account. If you do not have the VPN server installed, this option will not be available.
Also check the ‘Send instructions’ box to send the person an e-mail with the configuration files and the corresponding instructions for the configuration of the VPN client. Remember that the instructions include all the necessary configuration data except the password, which for security reasons you must provide through another secure channel.
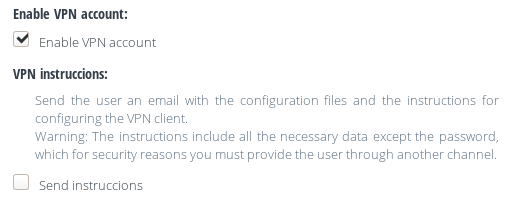
Enabling VPN account.
Note: in case you want to resend this mail with the configuration files you can do it in this way: Edit the account > check the ‘Send instructions’ box > press the ‘Save’ button. The instructions will be sent to the email associated to this account.
Install and configure the OpenVPN client
To establish a VPN connection with the server you need a client application. OpenVPN will be the free software and open source solution you need to use for Maadix. Below, you can find a detailed tutorial for computers with Windows, Linux, MacOS, as well as Android mobiles.
Windows
Download and install the OpenVPN application from this link.
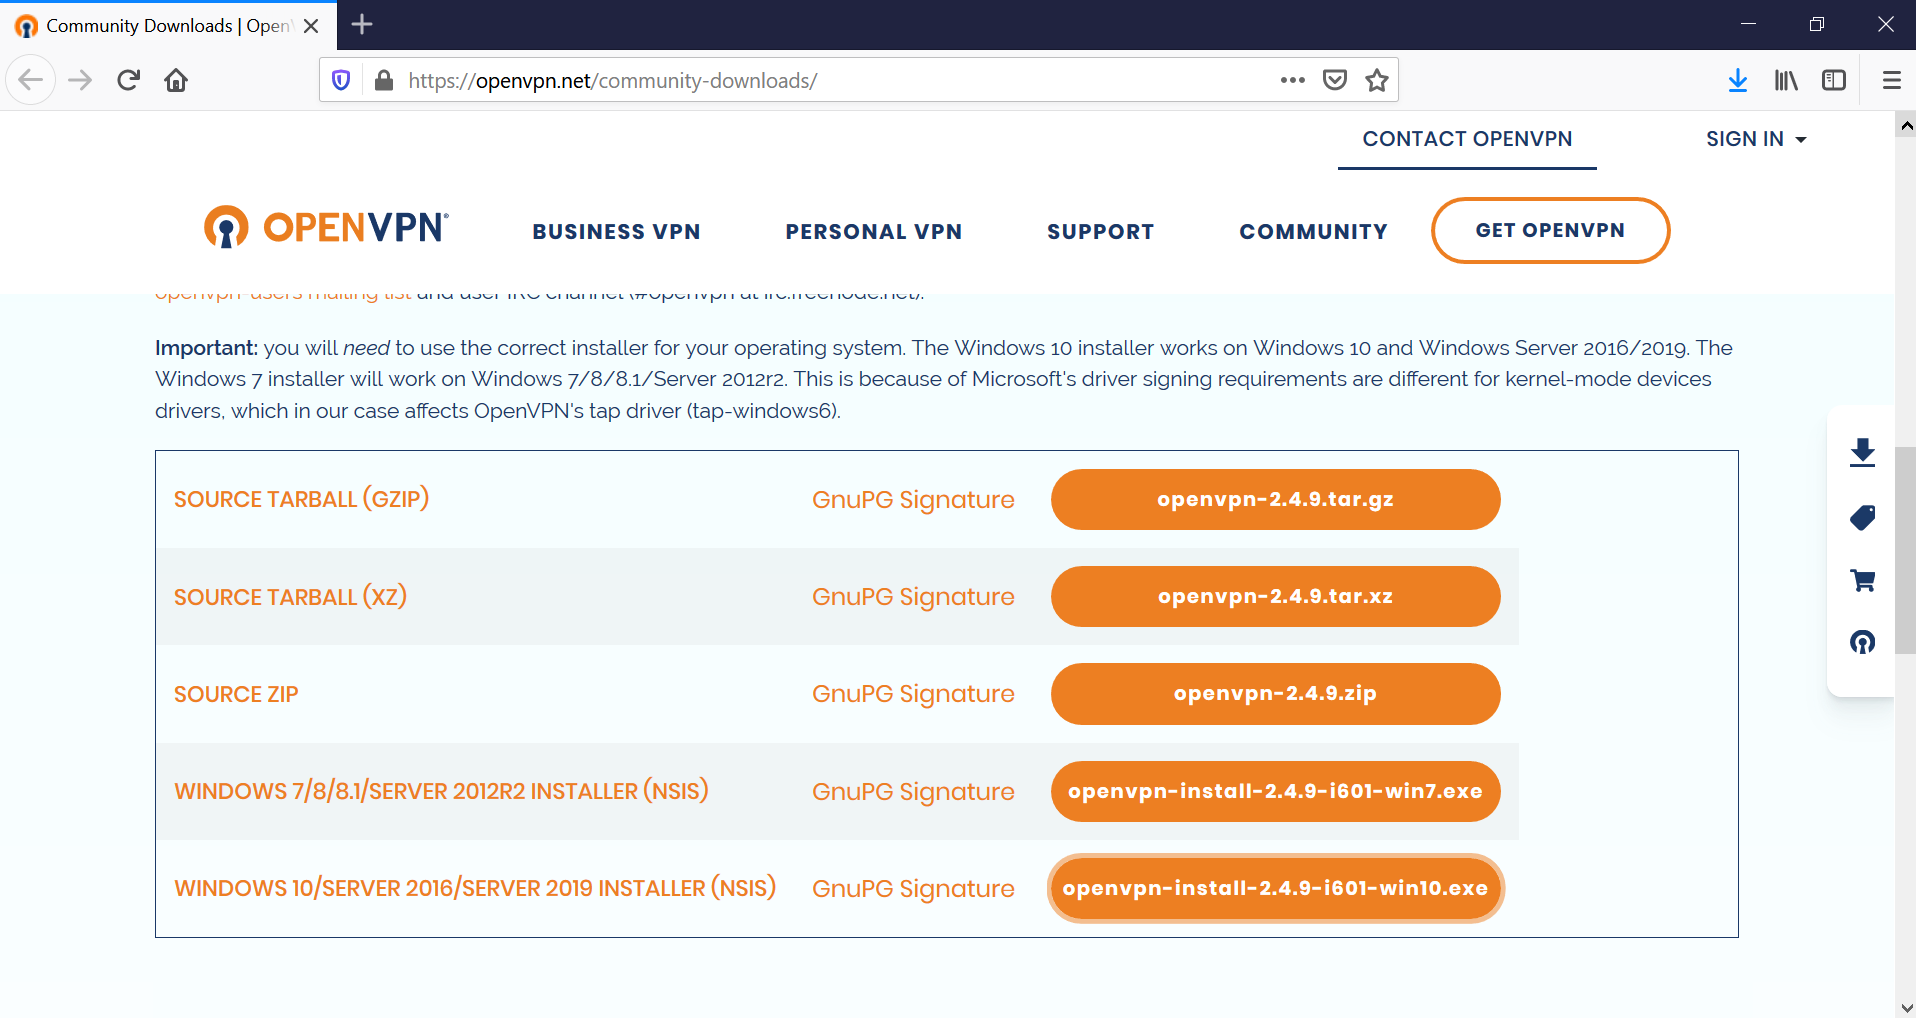
Download OpenVPN client.
Choose the file (.exe) you need according to your version of Windows. You can proceed with the installation with the default settings.
This is an example of a Windows 10 installation:
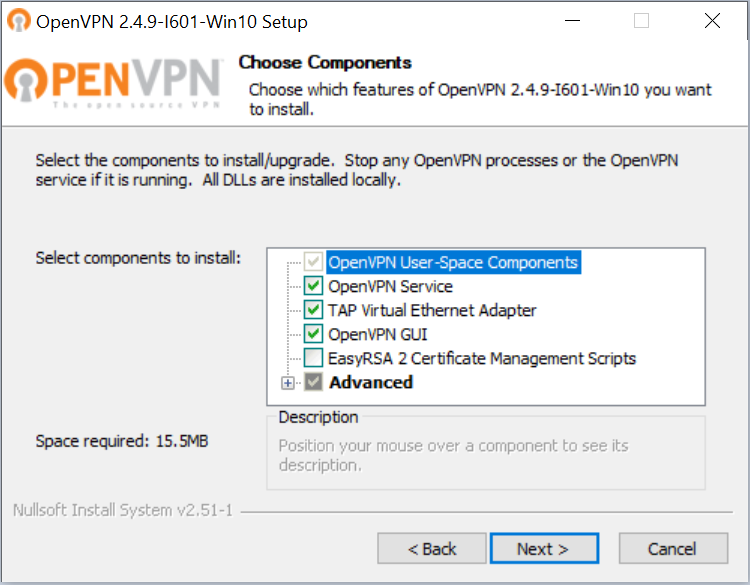
OpenVPN client installation.
As you see, by default, OpenVPN will be installed in the path: C:\Program Files\OpenVPN
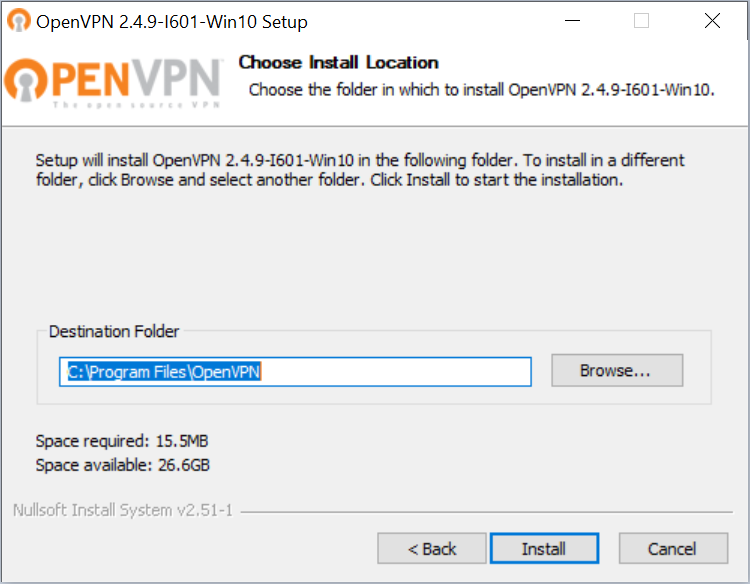
Setting up the installation path.
2. Now you will need the files that were sent to you by mail to the account for which the VPN service was activated. Unzip the .zip file that was sent to you and access the ‘Windows’ folder. There you will find the two files you need for this configuration:
vpn.ovpnca.crt
You will have to copy them to in the path: C:\Program Files\OpenVPN\config\
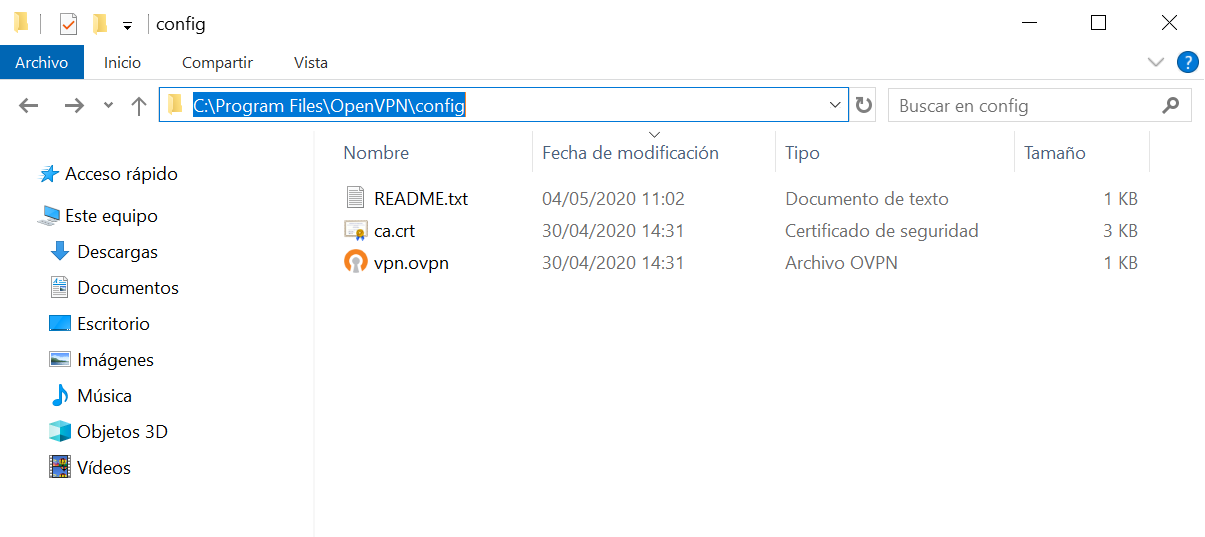
Copying configuration files.
Note: if during the installation you put another path than the default one then you will have to put it in C:\your\config path.
3. Opens the OpenVPN GUI application. A shortcut has probably been created on the desktop. It will also create an icon in the notification area or System Tray as you can see in this image:
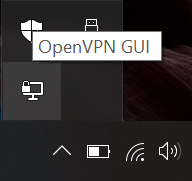
OpenVPN at the System Tray.
4. Select ‘Connect’ and enter the account name and password sent to you to connect
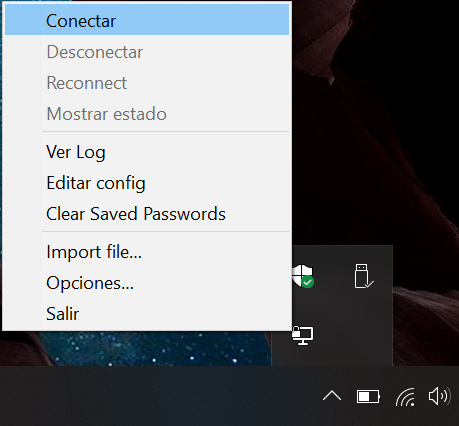
VPN connection startup.
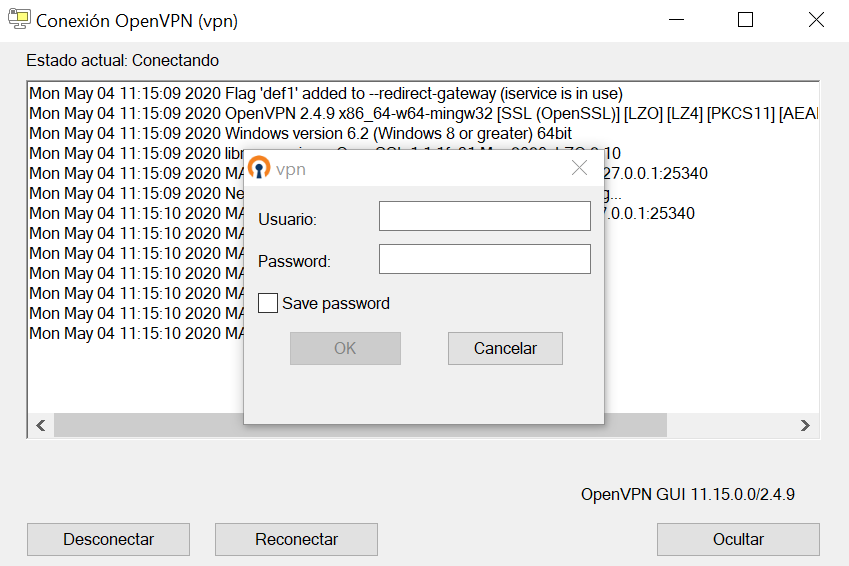
VPN login.
Wait a few seconds until the connection is established. To check that the connection has been made successfully, visit any website that tells you the IP address you are browsing with (for example cualesmiip.com), check that this IP changes when you activate or deactivate the VPN connection.
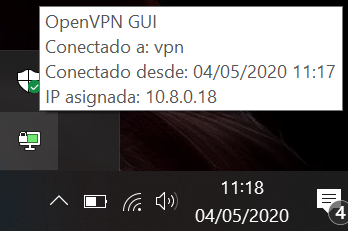
VPN connected details.
Linux
1. Install the OpenVPN client if you don’t have it installed yet (many Linux distributions include it by default).
By terminal:
sudo apt install network-manager-openvpn
sudo apt install network-manager-openvpn-gnome

sudo restart network-manager
With the Synaptic package manager:
Applications > System Tools > Synaptic Package Manager
Search and select network-manager-openvpn and network-manager-openvpn-gnome and install them.
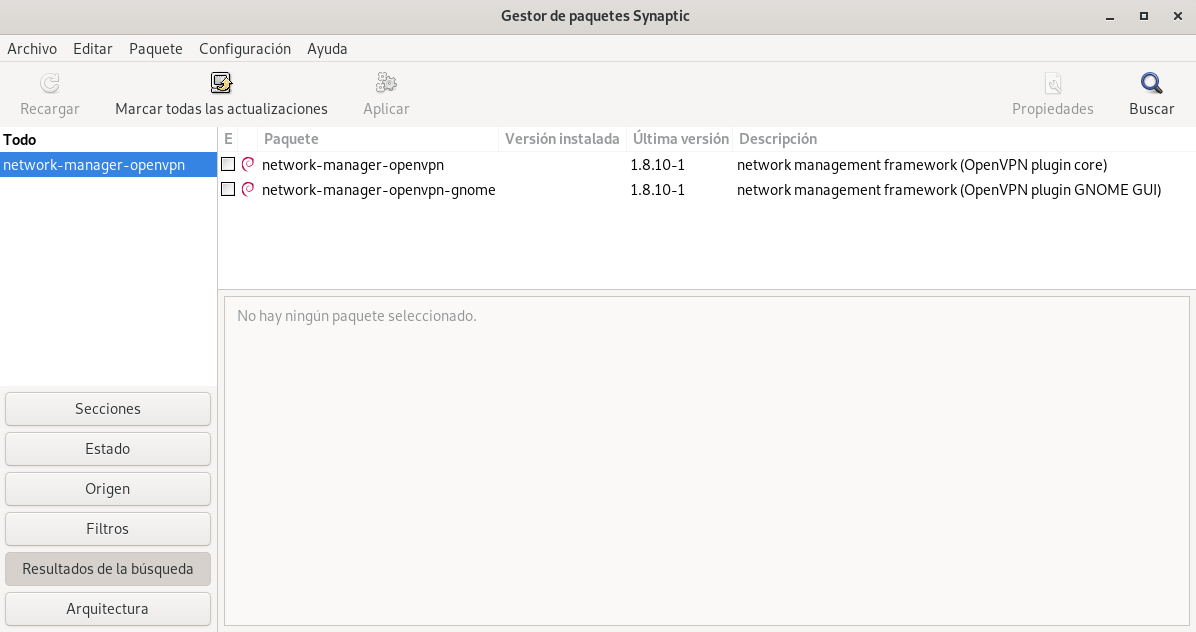
OpenVPN client installation.
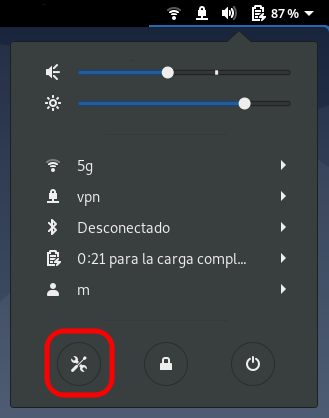
2. Click on ‘Network Settings’ from the Network Manager panel (the name can also be ‘Network Preferences’, ‘Network Connections’ or other, depending on your Linux distribution).
Network settings.
3. Find the ‘Add’ or simply ‘+’ button to add the new configuration and choose the VPN/OpenVPN option.
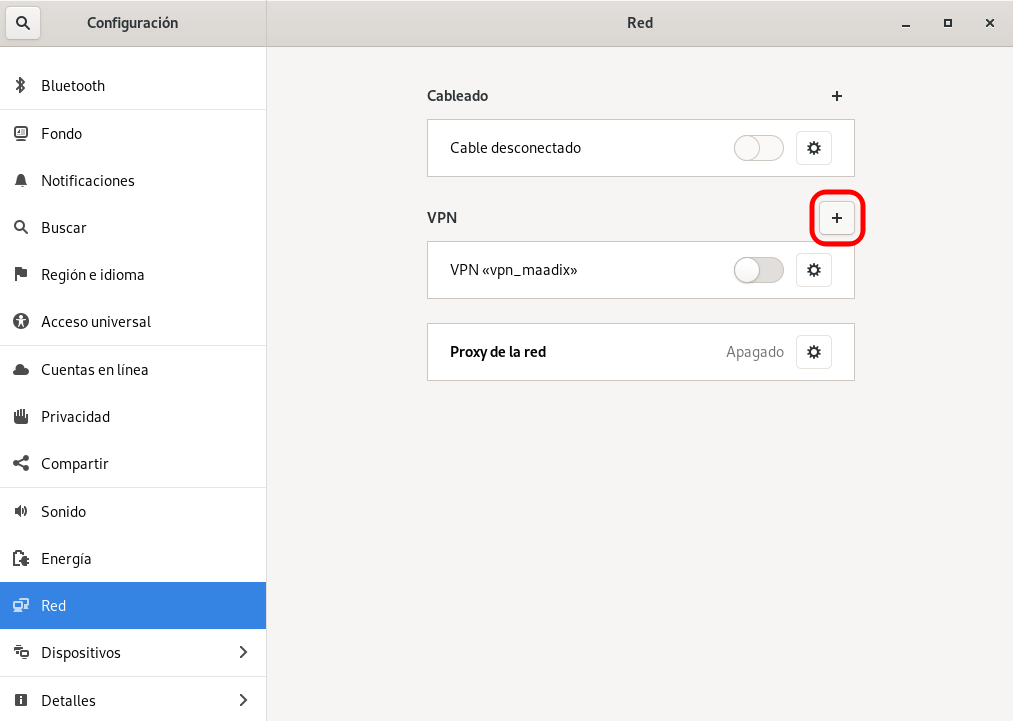
Adding new connection.
Choose the option ‘Import from a file’.
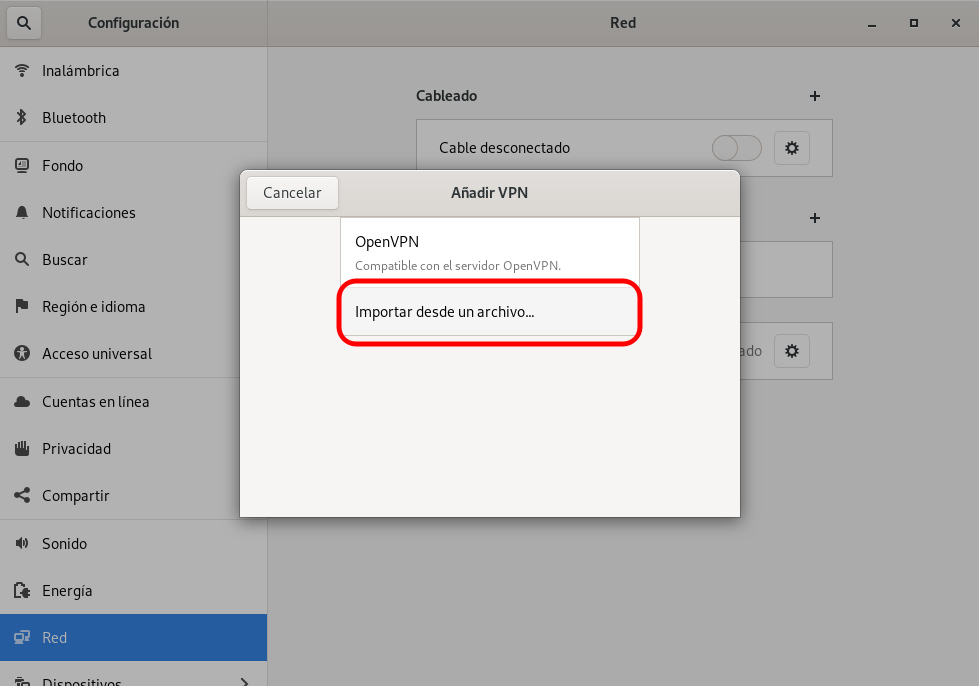
Importing settings from file.
5. Now you will need the files that have been sent to you in the mail. Unzip the .zip file and locate the vpn.conf and ca.crt files inside the ‘Linux’ folder.
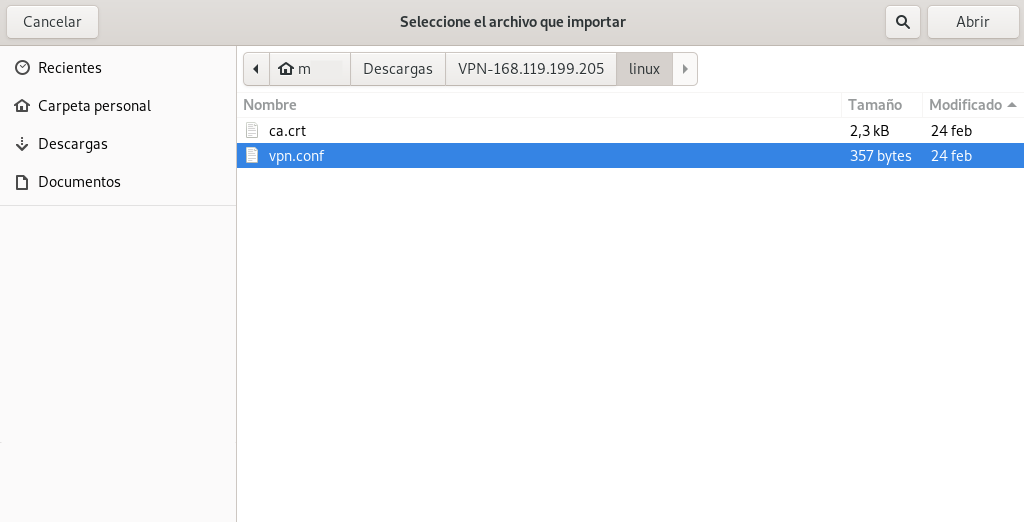
Select the file vpn.conf.
6. Enter the account name and password to connect. Choose the password management method you prefer (we recommend the option ‘Always ask’).
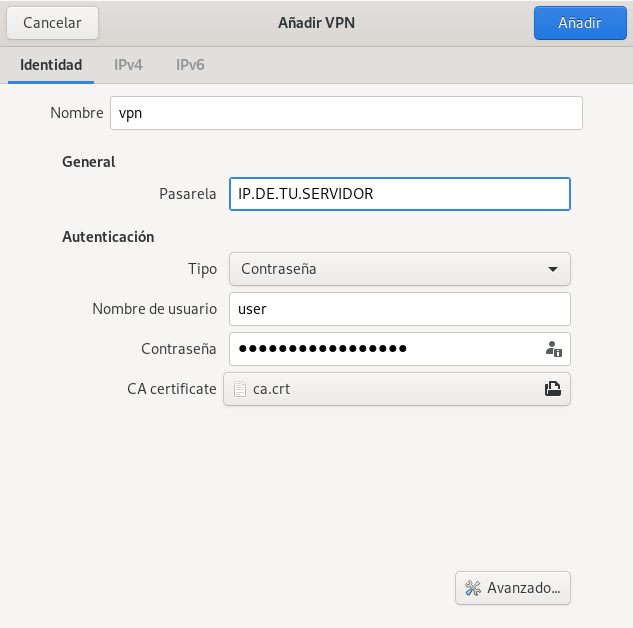
VPN login.
Go back to the Network Manager to activate the newly created connection.
VPN connection startup.
Wait a few seconds until the connection is established. To check that the connection has been made successfully, visit the website http://cualesmiip.com/ first with the VPN activated and then deactivated. The result offered as ‘Your real IP’ should be different.
MacOS
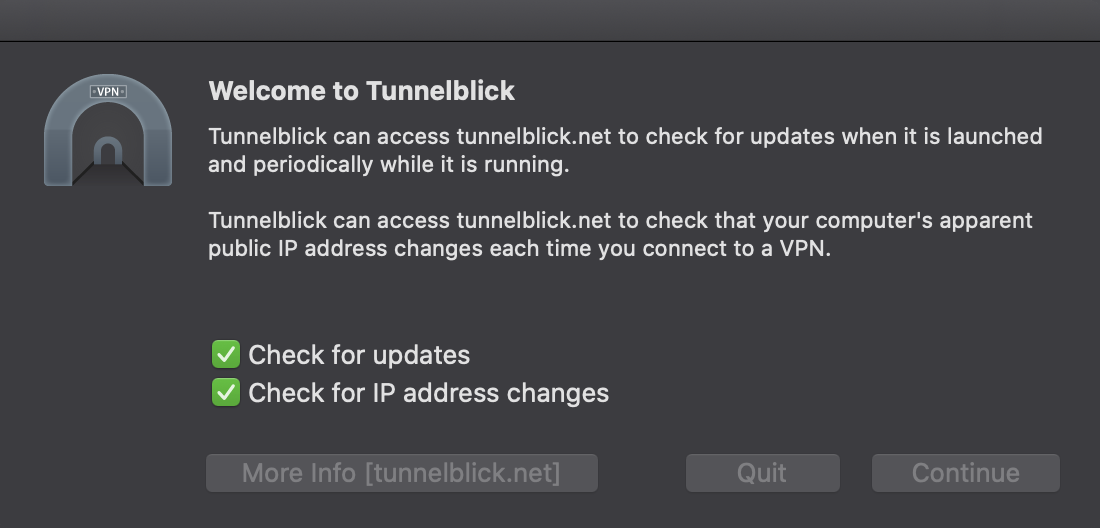
1.Install the VPN client for MAC Tunnelblick, you can download it here (choose the stable version).
Tunnelblick client installation.
2.Once you have installed Tunnelblick you need to add the configuration files that you have received by mail. Click on the + button and select the folder mac.tblk.

Setting up the Tunnelblick client.
3.Click the “Connect” button and you will be asked for your account name and password to start the connection.
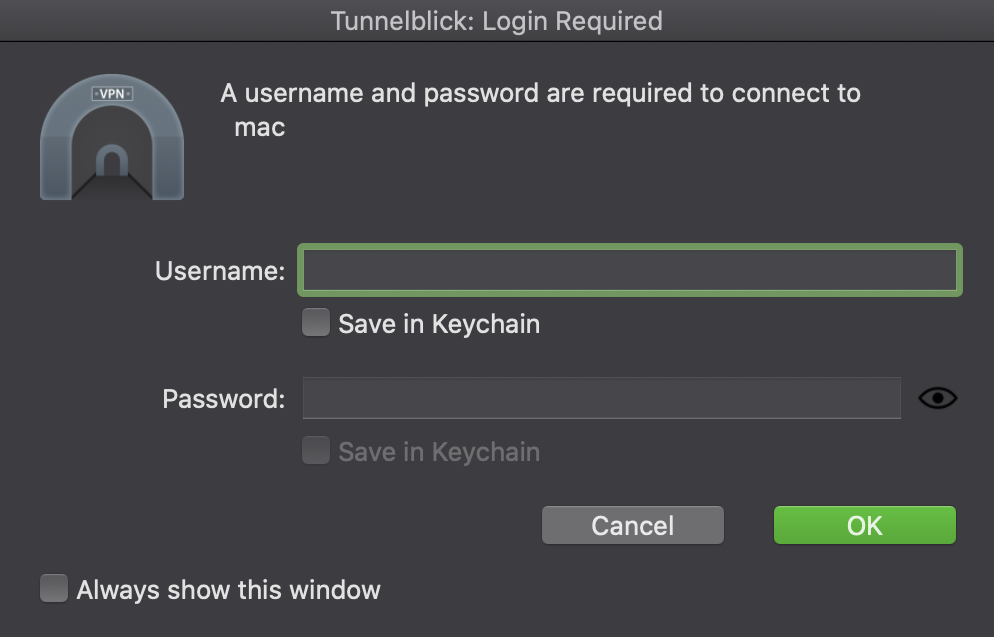
VPN login.
To check that the connection has been successful, visit the website http://cualesmiip.com/ and verify that the IP address it indicates is different from your usual connection.
Android
1. Extract and save on your device the VPN configuration files that you have received by email. You only need the two files that are inside the ‘Android’ folder.
2. Download the OpenVpn Connect application from Google Play or F-Droid.
3. Open the application. In the menu, choose the option ‘Import Profile’ > File and select the file android-client.ovpn in the folder where you downloaded it. Finally click ‘Import’.
You don’t have to select the ca.crt file but it has to remain in the same folder as android-client.ovpn for the ‘profile’ to be configured correctly.
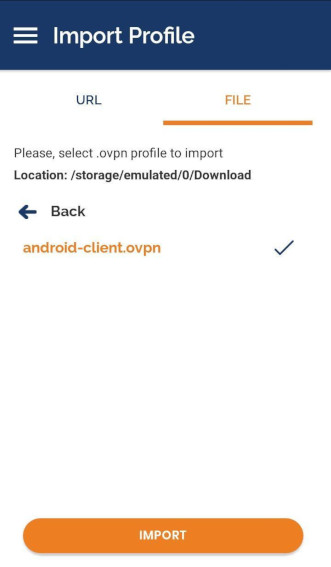
Importing settings from file.
Enter the account name and click ‘Add’.
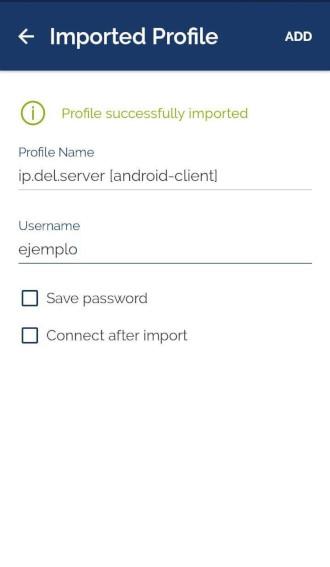
Adding the VPN account name.
Then now to establish the connection you have to press the button (switch type, in grey).

VPN connection startup.
You will be asked for the password:

VPN login.
Wait a few seconds until the connection is established. You should see something like this with “Connected” in green:
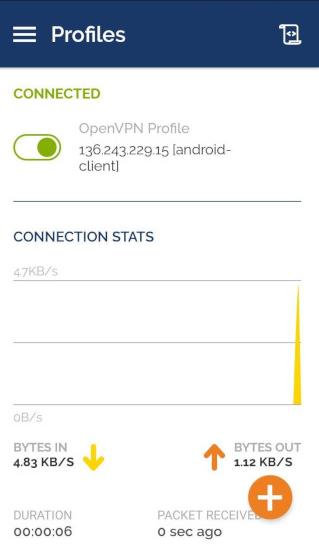
VPN connected details.
To check that the connection has been made successfully, visit the website http://cualesmiip.com/ first with the VPN activated and then deactivated. The result you get as ‘Your real IP’ should be different.