Jitsi Meet
Jitsi Meet is an open source video conferencing solution that allows you to invite other people to a conference via a public link, as well as an integrated chat, screen sharing, and other features.
In the automated installation that we provide in MaadiX we have configured by default the use of a password to be able to open a new room. Once created, anyone can join without having an active account, through a public link (there is still the option of having this link protected by a password).
Accounts authorized to open new rooms can be created very easily from the control panel.
We’ve implemented this configuration to allow anyone who installs Jitsi Meet to keep track of how many rooms are being created and avoid overloading their infrastructure.
By default, without this additional configuration, anyone who knows the installation link could use the tool by opening new conference rooms and this could easily lead to a decrease in performance, especially on small servers with limited resources.
Below are the steps to follow for the installation and assignment of the necessary permissions to open new rooms.
Installation
Before proceeding with the installation it is necessary to decide under which domain or sub-domain you want to host the application. We will use as an example the subdomain jitsi.example.com.
We will have to create a DNS record of type A, which points to the IP of the server.
jitsi.example.com A IP.OF.YOUR.SERVER
Depending on your domain provider, it may take a few minutes or a few hours to get the DNS propagated. Once the DNS are propagated you can proceed with the installation from the control panel.
When you click on Jitsi Meet, from the ‘Install Applications’ page, a field will be displayed in which you will have to insert the name of the domain/subdomain you want to use to install the application. In the case of our example it will be jitsi.example.com.
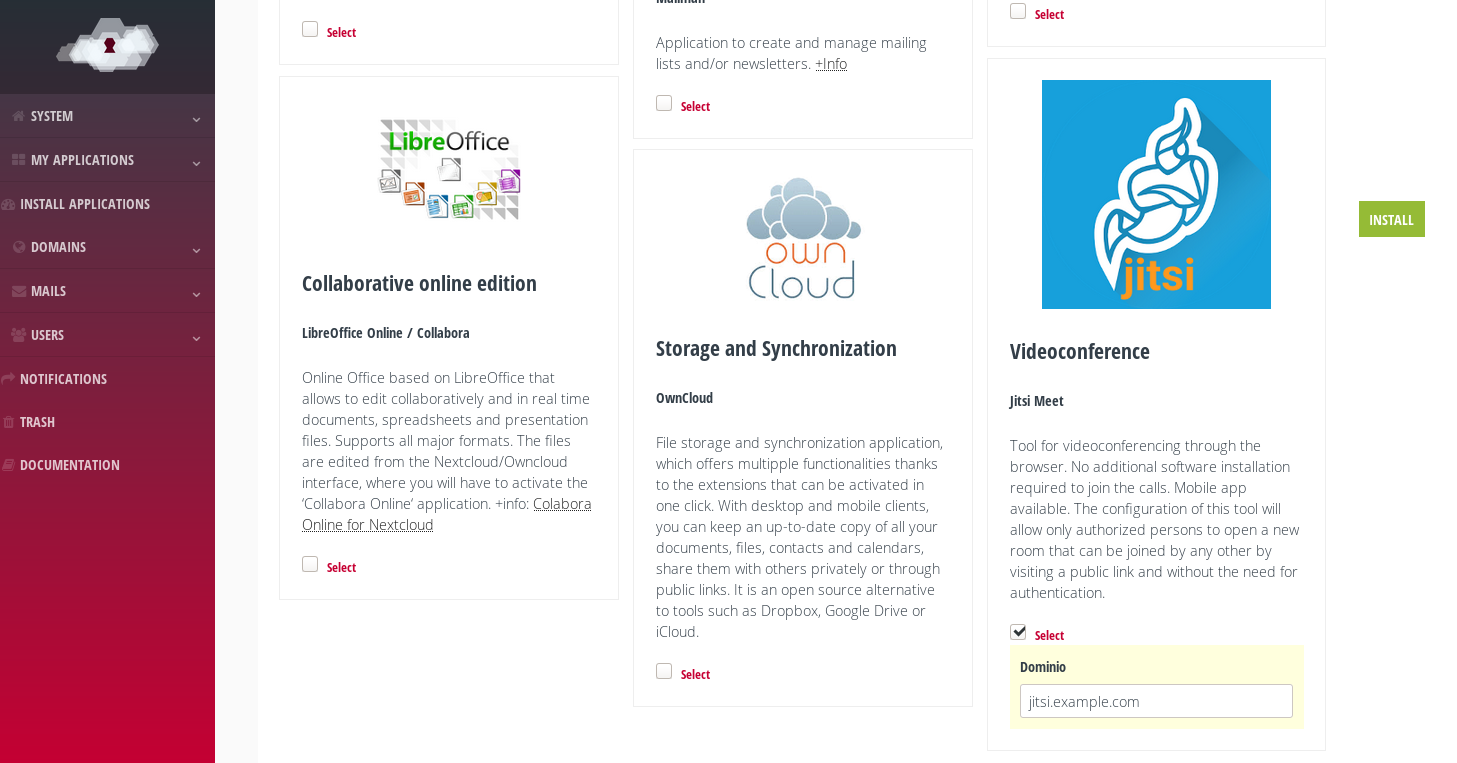
Installation of Jitsi Meet.
Granting permission to create new rooms
The ‘Superuser’ account has by default the necessary permissions to start a new conference room. However you can grant this permission to other existing accounts or create new ones even just for this purpose.
In the tab ‘Regular users’. You can either edit an existing account or create a new one.
Once Jitsi Meet is installed, you will see ‘Enable Jitsi Meet’ among the available options. Check the box to grant permission to create conference rooms. If you don’t have the application installed, this option will not be available. In this example we are creating the “myuser” account to which we assign a password.
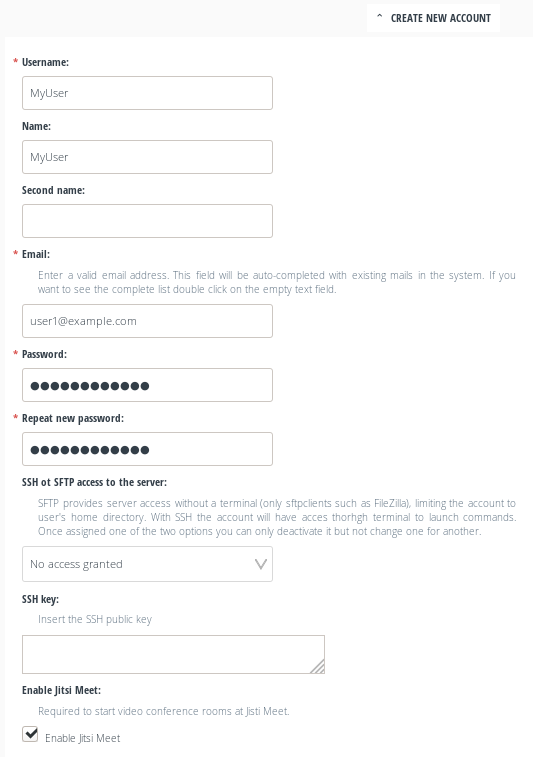
Enabling Jitsi Meet account.
Creating a room
Now you can access the installation domain, in our example jitsi.example.com, which will show you a screen with a field to insert the name of a room, for example ‘meeting’. Once you have inserted the name you want to give, click on ‘GO’ or ENTER.
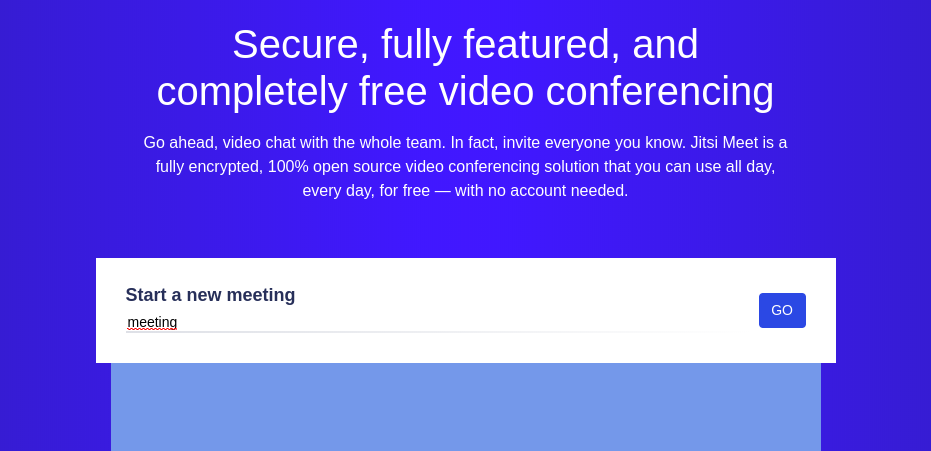
Start of rooms at Jitsi Meet.
You will see an alert in which the application asks you to confirm that you are the host. Click on the ‘I am the host’ button.
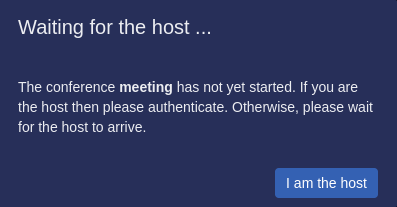
Authentication request at Jitsi Meet.
At this point the application will ask you for valid credentials to start the video call by showing an authentication form. There you have to insert the newly created credentials, i.e. the myuser account and its password. Remember that you could also use the Superuser account without having to give express permission in this case.
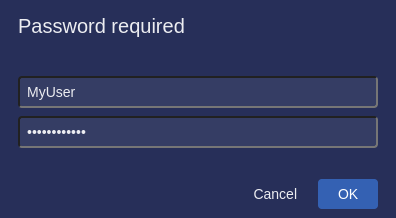
Authentication at Jitsi Meet.
Once the room is created you can publicly share the link and invite anyone without creating more accounts or granting more permissions.