OnlyOffice
OnlyOffice is an application that, like LibreOffice Online, provides the ability to collaboratively edit documents in a browser in real time.
It’s an alternative to Google Docs, and allows you to edit rich text documents, spreadsheets, and presentations. By default it uses the .docx format, but other formats can be enabled for files created outside the application and uploaded to our facility (.odt, .doc, .docx, .ods, xls, .xlsx, .odp, .ppt, .pptx…).
To use it, you also need a Nextcloud or an Owncloud installation, which will be the interface that will allow you to access the editing of the documents. With OnlyOffice, documents stored on Nextcloud or Owncloud will be opened in the browser for reading/editing, instead of the default download option.
Installing
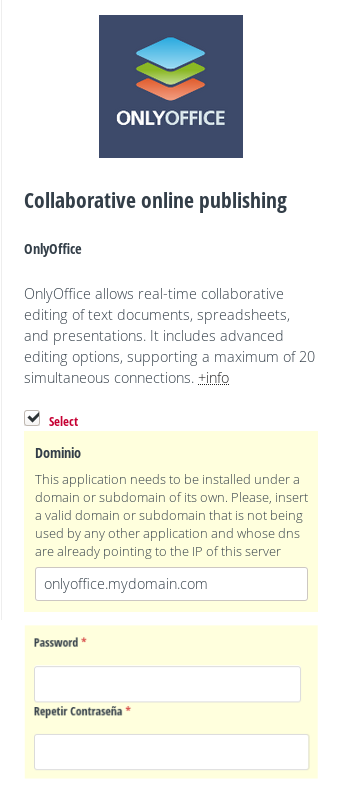
Before proceeding with the installation it is necessary to decide under which domain or sub-domain the application is to be hosted. We will use as an example the subdomain onlyoffice.maydomain.com
We will have to create a type A DNS record, which points to the server’s IP.
onlyoffice.mydomain.com A IP.DE.TU.SERVIDOR
Depending on your domain provider, it may take a few minutes and a few hours for the DNS to propagate. Once the DNS are propagated you can proceed with the installation from the control panel.
On the ‘Install Applications’ page, by checking the box ‘Select’ in OnlyOffice, a field will be displayed in which you will have to insert the name of the domain/subdomain you want to use to install the application. In the case of our example it will be onlyoffice.mydomain.com
You will also need to set a password that you will need to connect this OnlyOffice with Nextcloud. Keep it in a safe place.
Installing OnlyOffice.
Conecting Nextcloud / Owncloud
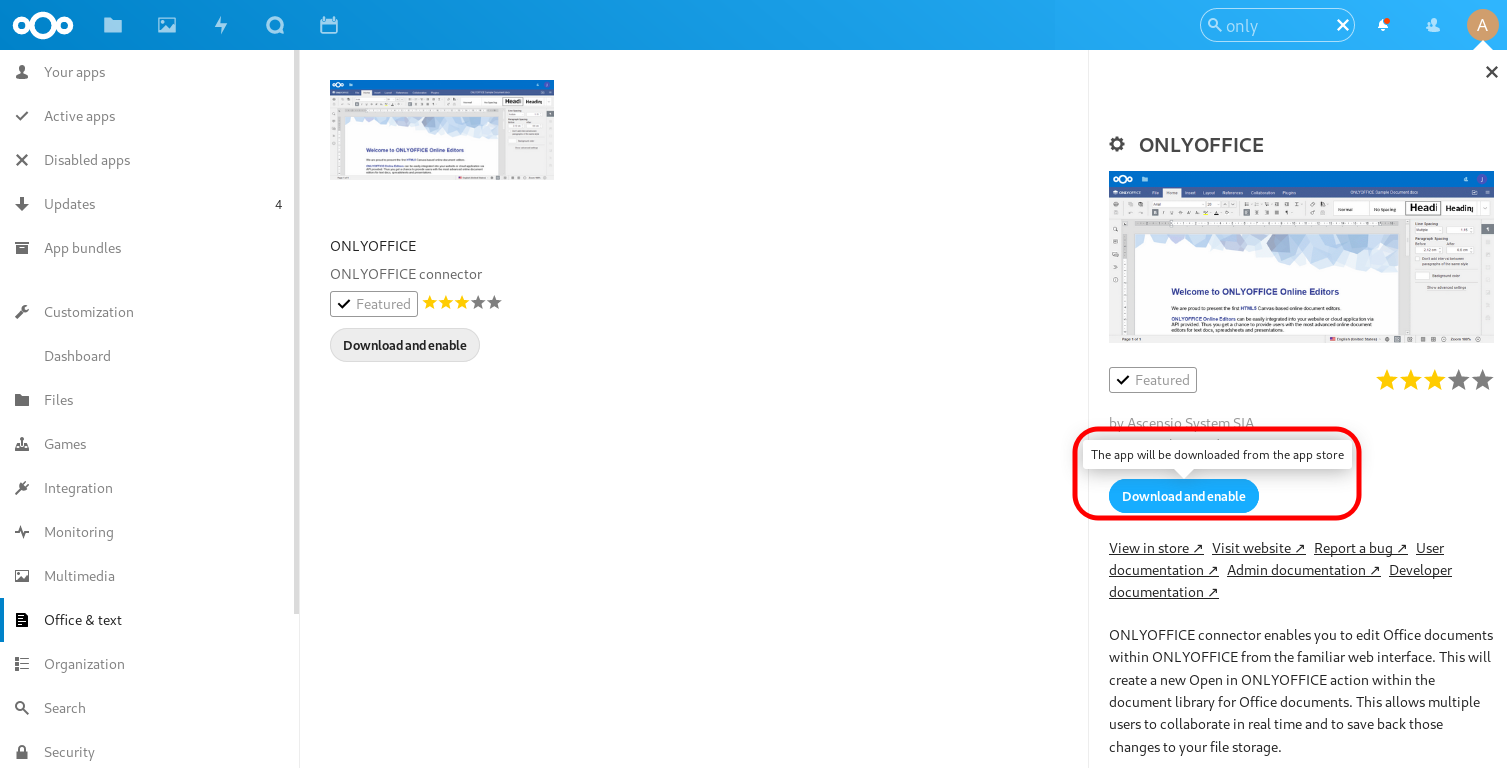
Once the OnlyOffice installation process is complete, you need to install and configure the OnlyOffice extension from Nextcloud (or Owncloud). To do this, log in with an account that has administration permissions and go to ‘Apps’ > ‘Office and tex**t’ and search for ‘OnlyOffice’, click on ‘**Download and enable’.
Installing OnlyOffice at Nextcloud.
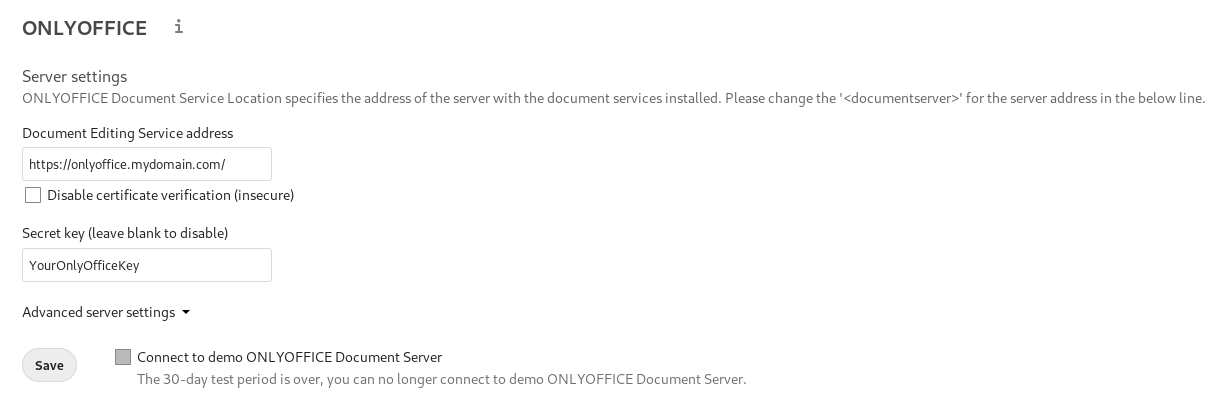
Once the app is enabled, you will have to go to `Settings` > ‘OnlyOffice’ and insert two values:
The application installation url with ‘https://’. In our example ‘https://onlyoffice.mydomain.com’.
The secret key that will authorize your Nextcloud installation to connect to the OnlyOffice server. This password was assigned at the time of installation. If you do not remember it, you can consult it and change it from the Control Panel in ‘My Applications’ > ‘OnlyOffice’ > ‘Settings’.
On this same page you can also set other preferences, such as enabling other formats for editing documents.
OnlyOffice settings.
From now on, every time you access a document from Files, it will be opened in the browser for editing.
Note: It is installed the OnlyOffice Community Edition that is limited to a maximum of 10 open documents at a time and a maximum of 20 simultaneous connections.