Nextcloud
Nextcloud is a software (free and open source) that allows you to create a secure cloud where to store your files. It is an alternative to services such as Dropbox or Google Drive.
In addition, you can also add applications for calendar, task management, contact management, video calls, etc.
Installation
From the control panel, go to ‘Install Applications’, there you will see all the applications available for installation, including Nextcloud. Just check the box ‘Select’ and click the ‘Install’ button.
After a few minutes in which the installation is done, you will have your secure cloud with Nextcloud installed in Maadix.
After this process you will receive an email (to the address you have configured for the admin account in the control panel) with the access data to Nextcloud. Change the password as soon as possible.
Access
To access the Nextcloud you will have to go to <the-url-of-your-server>/nextcloud , that is to say to myserver.maadix.org/nextcloud or myserver.example.com/nextcloud (if you have configured your own domain for the server). You can also go to the MaadiX Control Panel and at the menu go to ‘My Applications’ > ‘Nextcloud’ and it will take you to the access url.
There you can login with the credentials that you have received by mail.
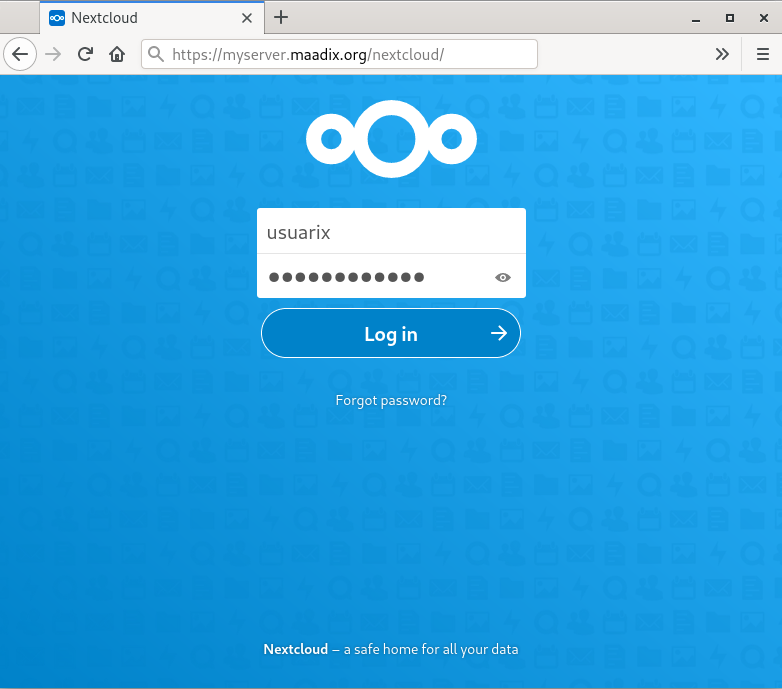
Nextcloud login.
Url Customization
If you want your Nextcloud installation to be accessible in a subdomain like nextcloud.example.com you will have to do the following:
Create a type A DNS record, which points to the server’s IP:
nextcloud.example.com A IP.OF.YOUR.SERVER
Add the subdomain
nextcloud.example.com, from your control panel, in the tab ‘Domains’ -> ‘Add a new domain’. Remember how to do it in the documentation about domainsAdd the subdomain to
trusted_domains:
Access the server via ssh with the Superuser account and edit the config.php file which will be on the path /var/www/nextcloud/nextcloud/config/. You’ll have to edit it from the console with some nano/vim editor and add the subdomain to the trusted_domains array, you’ll have something like this:
'trusted_domains' =>
  array (
    0 => 'myserver.example.com',
    1 => 'IP.DE.TU.SERVIDOR',
    2 => 'nextcloud.example.com',
  ),
Create a file
index.phpon the path/var/www/html/nextcloud.example.com/and add the following:
<?php
   header("Location: https://" . $_SERVER['HTTP_HOST'] ."/nextcloud");
   die();
Make sure the permissions on the
index.phpfile are correct. The owners should beuser:www-dataand the read and write permissions should be 660. With the following commands you can apply it:
chown user:www-data /var/www/html/nextcloud.example.com/index.php (replace user with the name of the subdomain webmaster account.)
chmod 660 /var/www/html/nextcloud.example.com/index.php
From now on, you will be able to access nextcloud through the subdomain https://nextcloud.example.com.
Updates
Nextcloud updates will be done automatically when you upgrade to a new MaadiX release (see documentation on updates).
However, the updates of the applications that you install in Nextcloud will have to be done from Nextcloud: ‘Apps’ > ‘Active Apps’ and there click on the button ‘Update’ in the applications that have released an update.