Odoo
Odoo is a very complete ERP application that allows contact management, invoices, inventory, orders, payments, etc. Suitable for e-commerce, accounting, point of sale, project management, etc. It has free extensions and paid solutions to extend the functionalities.
System requirements
Before proceeding with the installation, it is advisable to make sure that the server has the necessary resources available for a good performance. Odoo is an application that requires quite a lot of resources and disk space. It is recommended to have at least 5 GB of disk space available and 500 MB of RAM.
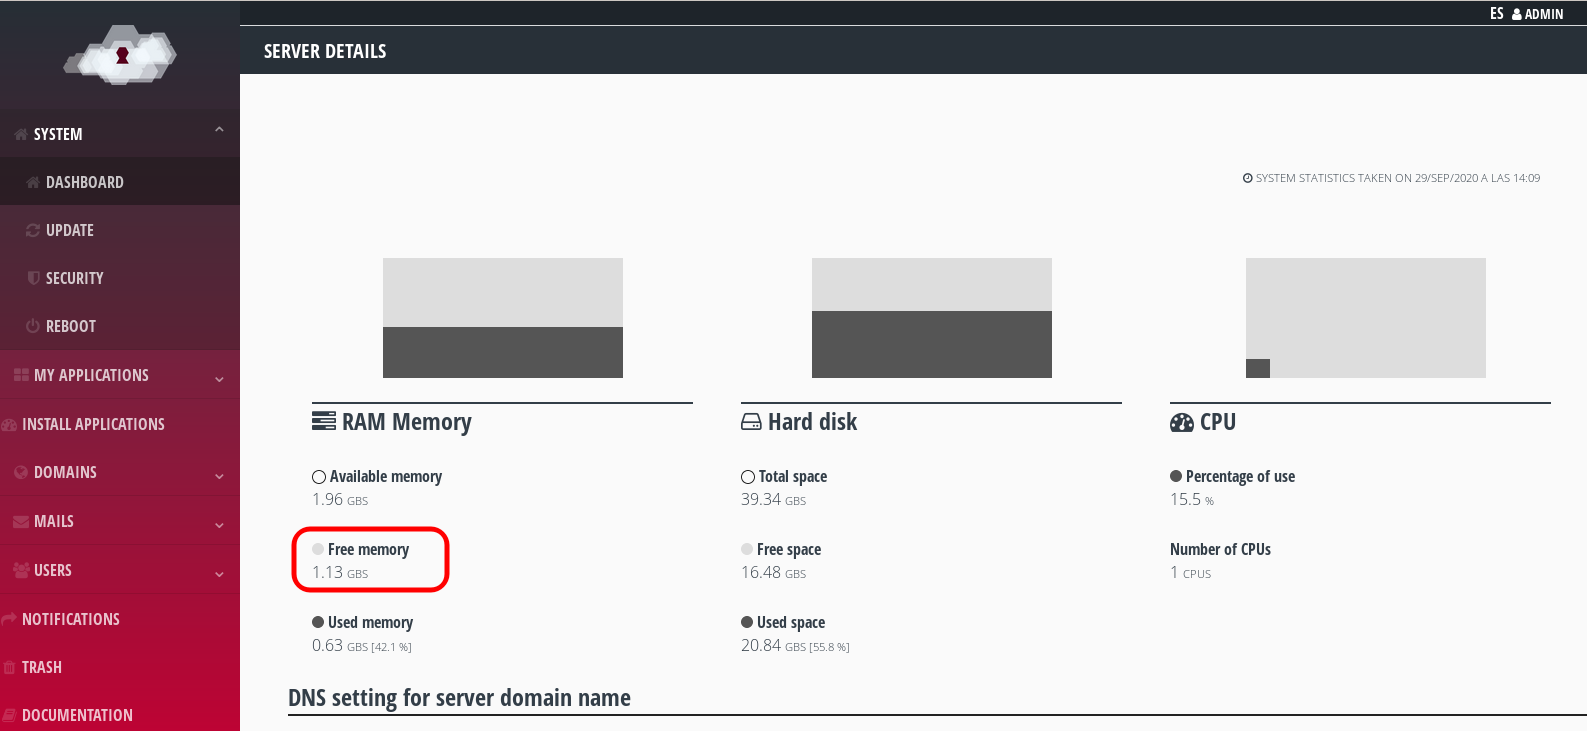
In System > Details section of the control panel, you can check the status of your system and available resources.

System statistics.
Installation
Before proceeding with the installation it is necessary to decide under which domain or subdomain you want to host the application. We will use as an example the subdomain odoo.example.com.
We will have to create a DNS entry of type A, pointing to the IP of the server.
odoo.example.com A YOUR.SERVER.IP
Depending on your domain provider, the propagation of the DNS can take anywhere from a few minutes to a few hours. Once the DNS are propagated, you will be able to proceed with the installation from the control panel.
When you click on ‘Odoo’, from the ‘Install applications’ page, you will see two fields, in which you will have to insert the following values:
1.The name of the domain/subdomain you want to use to install the application. In the case of our example it will be *odoo.example.com*.
2.A password that you will need to be able to create Odoo databases. Without it you will not be able to start using the application, so keep it in a safe place.

Installing Odoo
The installation of Odoo requires a longer time than other available applications, so be patient until the process is finished, which can take up to 10 minutes.
Activate installation
Once the Odoo installation process is finished, you will receive an email with instructions on how to access the application.
The first time you log in you will see a form like the one shown in the following image:

Odoo Activation
This step allows you to create a database and an administration account for the application. The data you insert in the Email and Password fields will be the ones you will use to login to the application.
In the Database Name field you will have to enter the name that you want to assign to the database that will be created when submitting the form.
In the first field Master Passowrd you will have to insert the password that you you chose when you installed the application from the control panel. If you don’t remember it, you can find it in the odoo configuration file:
/var/www/odoo/odoo/odoo.conf
To be able to read the content of this file you will need to access via SSH with the Superuser account. By accessing via SFTP you will not be able to read the contents of this file since you need to escalate to superuser (root) with the sudo su command.
In this link you can check the official Odoo documentation: