Etherpad
Etherpad Lite is an application external to the control panel that enables real-time, multi-user collaborative editing of documents (Pads).
There is also an extension, ep_maadix, which allows you to enable private workspaces, so that you can choose whether the documents created are accessible to the general public or only to people who have an activated account. This extension is no longer installed by default: if you want to use it, you will have to install it manually, as explained in the Etherpad Private Area section.
Installation
From the Control Panel, go to the “Install Applications” section, where you will see all the applications available for installation, including Etherpad. Just check the “Select” box and specify:
A domain or subdomain where you want to install it. This domain has to be pointing to the IP address of the server, for this you will have to add an A record in the DNS zone editor of your domain (external operation to MaadiX). Remember that this domain or subdomain does not have to be added in the “Domains” section.
A password to assign to the Etherpad administration account. Keep it somewhere safe as it will not be mailed for security reasons.
Once you have specified these two parameters, you can click on the button ‘Install’ button.
After a few minutes you will receive an email (to the address you have configured for the Control Panel administration account) confirming that the installation was successfully completed.
Change of domain name
If you need to change the domain or subdomain of Etherpad just go to the Control Panel and in “My applications” > “Etherpad” > “Settings” to indicate the new domain. This domain has to be pointing to the IP address of the server, for this you will have to add an A record in the DNS zone editor of your domain (external operation to MaadiX). Remember that this domain or subdomain does not have to be added in the ‘Domains’ section.
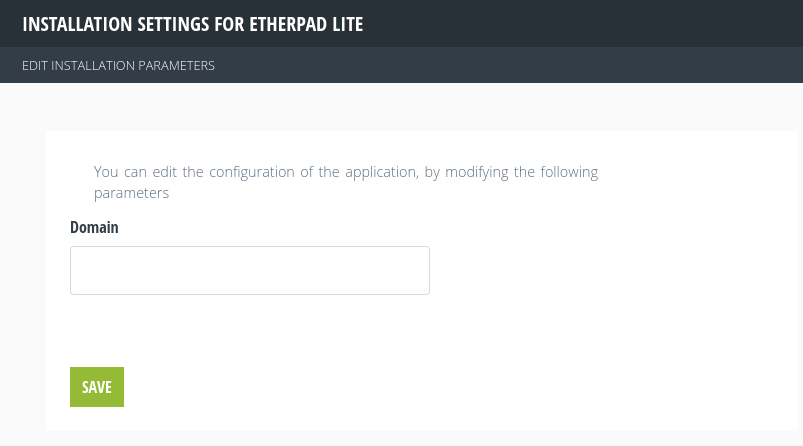
Change of Etherpad domain
Using Etherpad publicly
To use Etherpad publicly, you will have to go to the domain or subdomain you specified during installation. You can also access it through the Control Panel, under “My Applications” > “Etherpad” > “Go to application”.
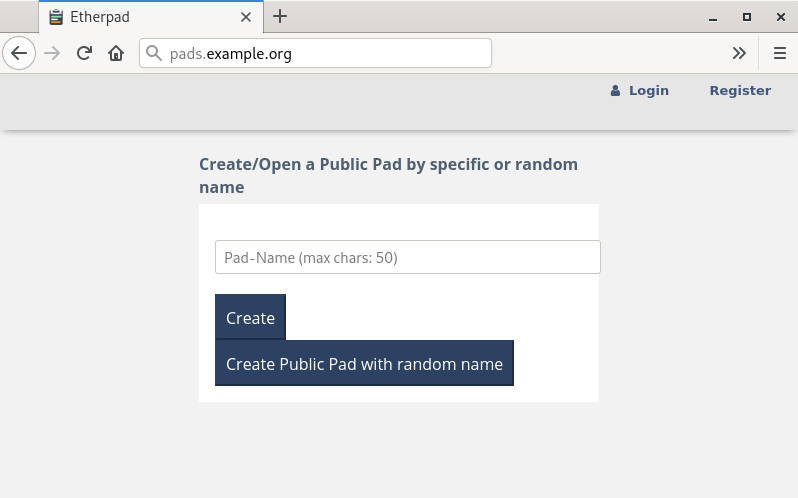
Creating public pads.
Etherpad admin
The Etherpad Lite application includes its own administration panel that allows to:
Edit preferences.
Install or uninstall plugins.
Re-start the application.
The administration area of this application is available at the address: subdomain.indicated.org/admin/
In order to access this area, you will need to insert the admin account and the password you specified during installation.
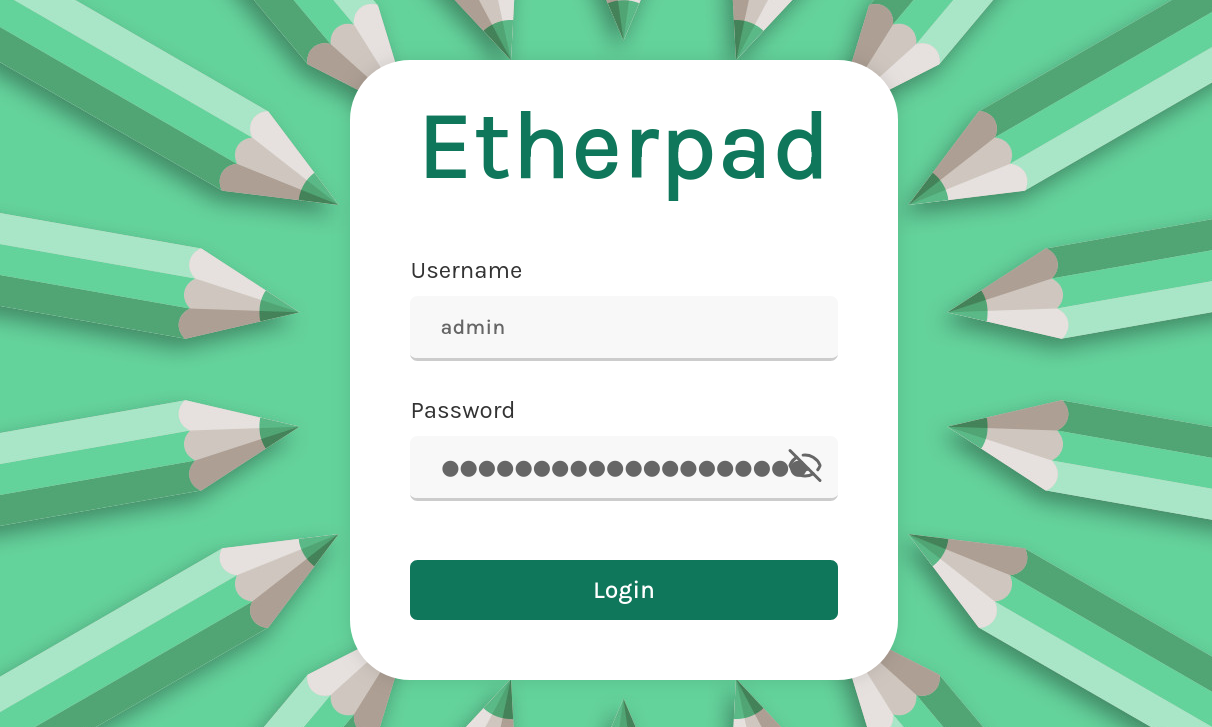
Access to the administration area.
Only the admin user can access this area, where he or she has access to all groups and users created in the system. The password is not valid for operating from the front-end.
Change the admin’s password
If you need to change the password for the administration account, you will have to log in to the server via SSH with the Superuser account, since the file has to be edited as root.
Edit the file /var/www/etherpad/etherpad-lite/credentials.json, where you will find lines similar to the following:
"users": {
  "admin": {
  "password": "yourpasswordhere",
  "is_admin": true
  }
}
Change the value of the password to your new password, being careful to put it between quotation marks.
Save the file.
Restart Etherpad by running
service etherpad restart.
Etherpad Private Area
MaadiX has developed an Etherpad Lite plugin, ep_maadix, that enables you to create private workspaces. This plugin is no longer installed by default together with the application: if you want to use it, you will have to install it manually from the Etherpad Lite administration area, in the ‘Plugin Manager’ tab. Search for ep_maadix in the list of available plugins and click ‘Install’.
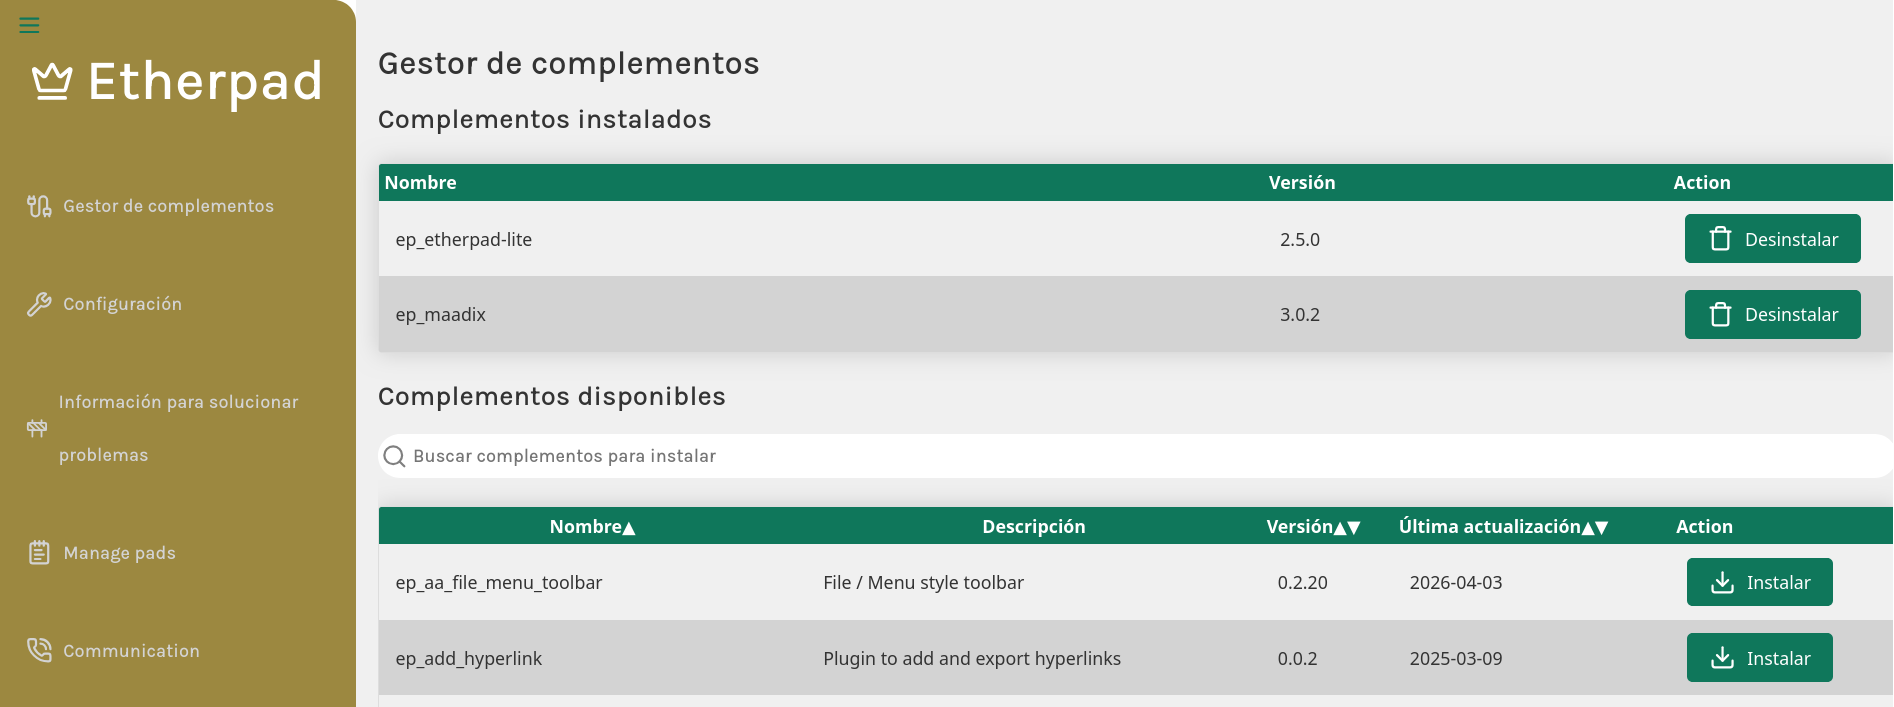
Installing ep_maadix.
To access the plugin’s configuration, once you have logged in to the Etherpad Lite administration area (subdominio.indicado.org/admin/), go to the front-end of the application (subdominio.indicado.org): a settings icon (a small gear) will appear at the top right, which will take you to the ep_maadix plugin administration.
ep_maadix settings icon in the front-end.
In the ‘General settings’ tab you will find the following options:
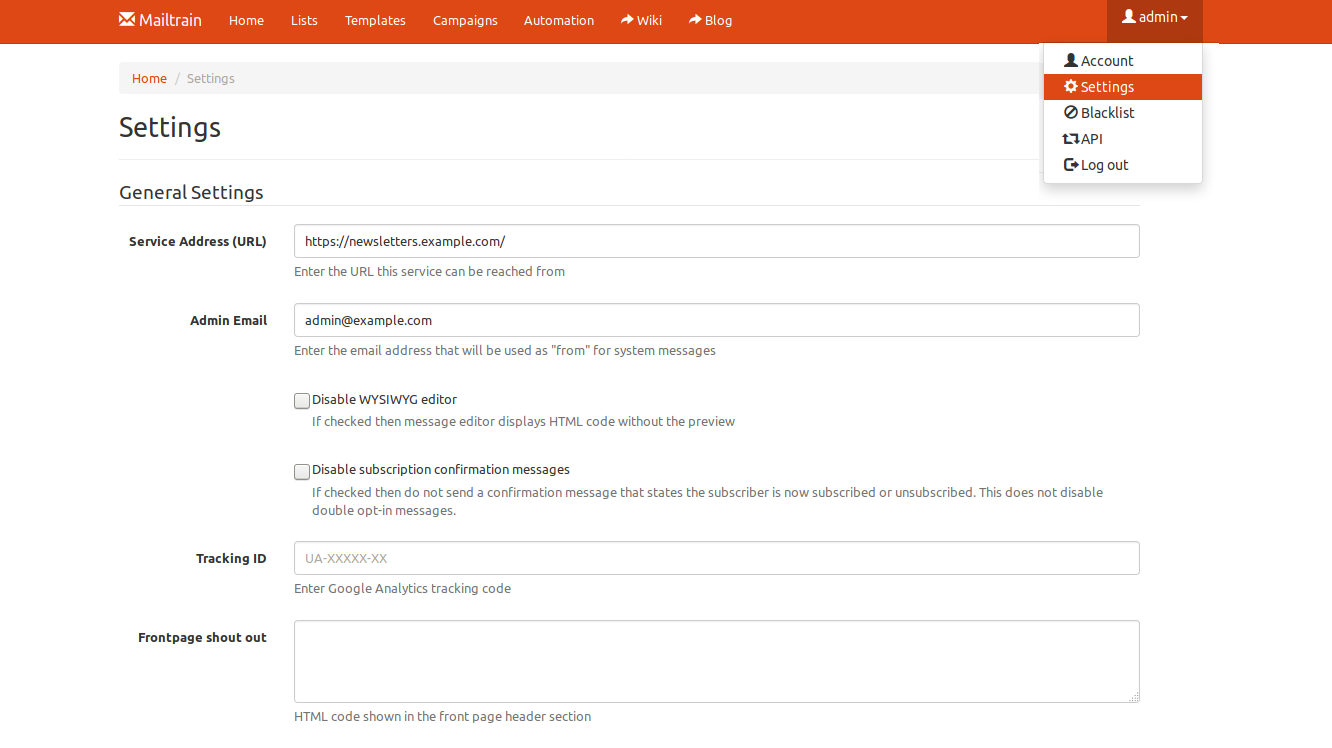
General ep_maadix settings.
Allow users to register: if this option is enabled, anyone will be able to create an account without needing to receive an invitation. Otherwise, only people with a valid invitation will be able to access the application. If someone registers, they will not be able to access the groups already created until they receive an invitation. They will only be able to create new groups, new pads and invite people to their group.
Allow users to recover lost password: Enabling this option will allow users to retrieve their password. In general, it is advisable to leave it on, as this allows users to reset their password themselves, avoiding having to send it by mail or another channel.
Allow public pads: allows the creation of public Pads without the need to have a user activated or to belong to any group. Private groups and pads are still available even if this option is enabled. If you want to avoid that anyone can create new Pads, you can deactivate this option. To apply the changes you have to restart the service: go to the administration area (
subdominio.indicado.org/admin/), to the ‘Settings’ tab (in the left-hand menu), and click the ‘Restart Etherpad’ button at the bottom of the page.
Create users
From the plugin’s administration area you can invite people. If you have chosen not to allow people to register without an invitation, you will have to invite at least one account here. You can also create it from the front-end by clicking on the ‘Register’ tab at the top right, before removing the registration option. This account will be able to start creating and managing groups from the front-end of the application.
Remember that the credentials of the account with administration permissions are not valid for operating from the front-end (subdominio.indicado.org).
From the ‘Manage Groups’ tab you can view existing groups, delete them and see the people who belong to each one. Groups cannot be created from here; to do so, see How to create a private group?.
From the ‘Manage Users’ tab you can invite a person to create an account, as well as activate it, deactivate it, delete it or send them a link to reset their password.
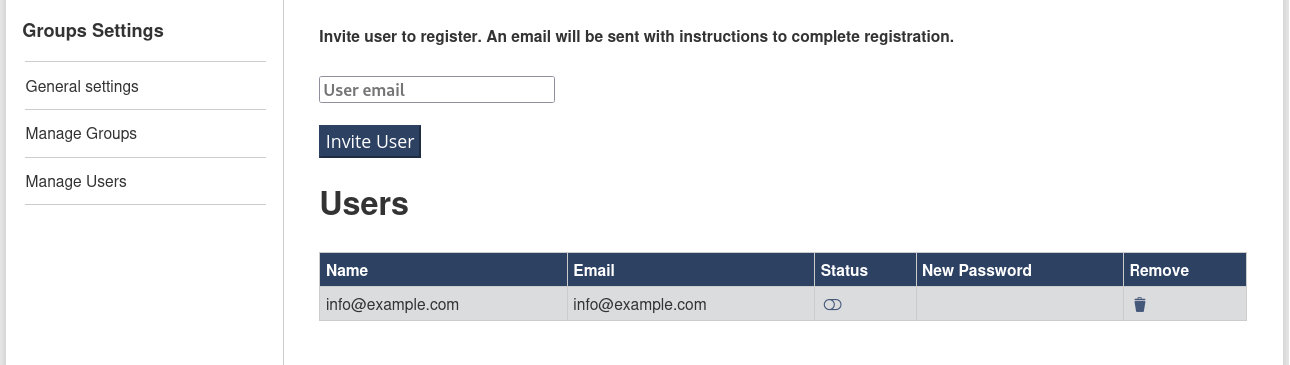
Adding an account.
The application will try to send an email to the specified account. However, if you have not manually configured an SMTP sending method, the email may not arrive or may be rejected. In that case, the best option is to manually activate the account by clicking the switch in the ‘Status’ column. Activated accounts show a link icon in the ‘New Password’ column. Clicking this icon will open a pop-up window with the link to reset the password, which you can send to the person manually. Keep in mind that this link expires after 10 minutes, and generating a new one invalidates the previous one.
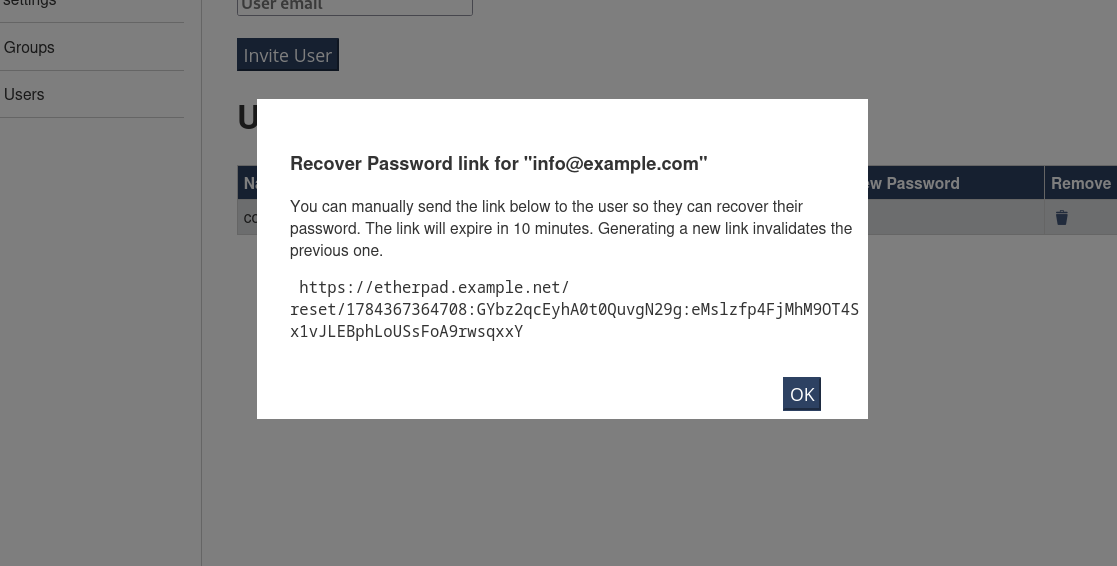
Link to reset the password.
Etherpad front-end
Users with an activated account can manage groups, invite other users and create and edit documents (Pads) from the front-end. The front-end of the application is available at subdomain.indicated.org.
To access the private area, you must identify yourself by clicking on ‘Login’ at the top right of the page.
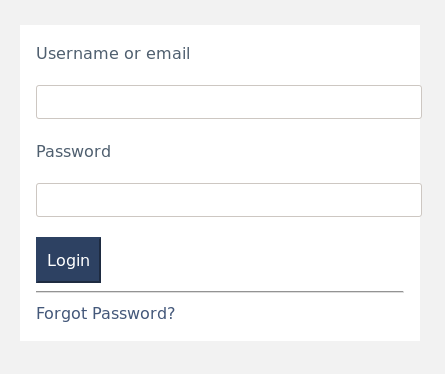
Front-end access.
Register
If, from the “Etherpad Private Area” (back-end), we have checked the “Allow users to register” option, then anyone will be able to create an account without needing to receive an invitation or access the “Private Area”.
To register, you just need to go to subdominio.indicado.org and click “Register” at the top right and enter the email address for the account you want to register.
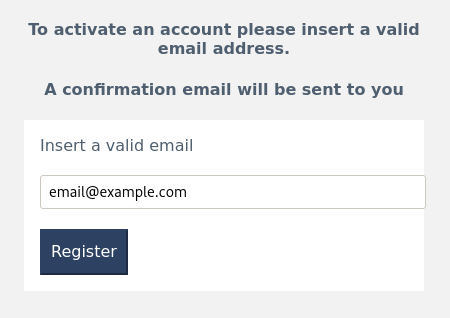
Registration from the front-end (step 1).
An email will be sent to the specified email address with an account activation link. Opening the link in the browser will give you access to the account activation form. Fill in the fields indicated to proceed with the creation of the new account.
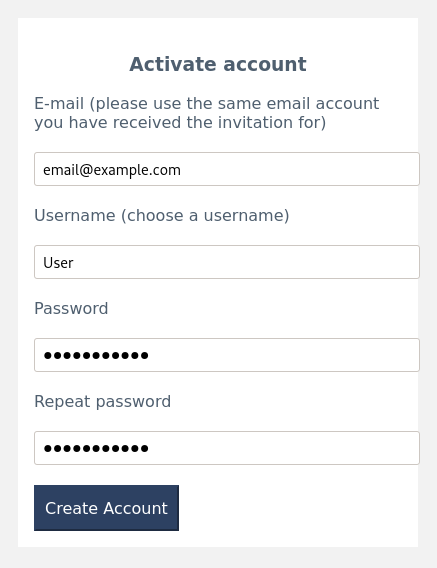
Registration from the front-end (step 2).
Groups
Private Pads and users must be associated with a group. The same user can belong to one or several groups and can create its own groups. If a user does not belong to any group, he or she will have to create one before being able to create documents or invite new users. You can check the groups you have access to or create new ones by clicking on ‘My groups’, once inside the application (Login).
How to create a private group?
On ‘Create a new private group’ insert a group name (this name must not yet exist in the system) and click the ‘Create’ button. The new group will appear on the same page. Once this is done, you can start inviting other users or creating new documents.
Invite Users
To add people to a group, click “View / Add Users” from the table on the “My groups” page. In the field “Invite user to this group” insert a valid email address of the person you want to invite. If the inserted address is not yet registered in the system, a confirmation email will be sent to them with instructions on how to activate the account. You must also choose the role you want to assign to this person in this group.
Roles
The role assigned to a user only applies to a certain group. A user can have access to several groups with different roles in each of them. If a user creates a new group, his role for that group will always be ‘Admin’.
A user can never assign a role higher than his own role within a group.
The roles available are:
Group Author: can create and edit Pads.
Group Manager: can create / edit / delete Pads and invite / remove Users.
Group Admin: can create / edit / delete Pads, invite / delete Users and delete the whole group.
The new guest user will appear in the table below. The role assigned to the user can be changed and edited later.
How to create a private Pad?
Pads must be created from a specific group’s Pad list page, as each Pad can only belong to a certain group. To create a new Pad, click “View / Add Pads” in the table on the “My groups” page. On the new page that opens, insert the name of the Pad you want to create in the “Add a Private Pad to this Group” field and click the “Create” button. The new Pad will appear in the table below.
The name of the Pad must be unique to each group.
Visiting existing Pads
To open a Pad that has already been created, click on “View / Add Pads” in the table on the “My groups” page, on the line corresponding to the group in which the document was created. You will find a list of all the Pads sorted by the last edit date of the selected group. You can reverse this order so that the oldest editions are shown first, or reorder the list in alphabetical order using the arrows in the corresponding columns.
For further information follow this link to find the official documentation of the Etherpad Lite application in full.