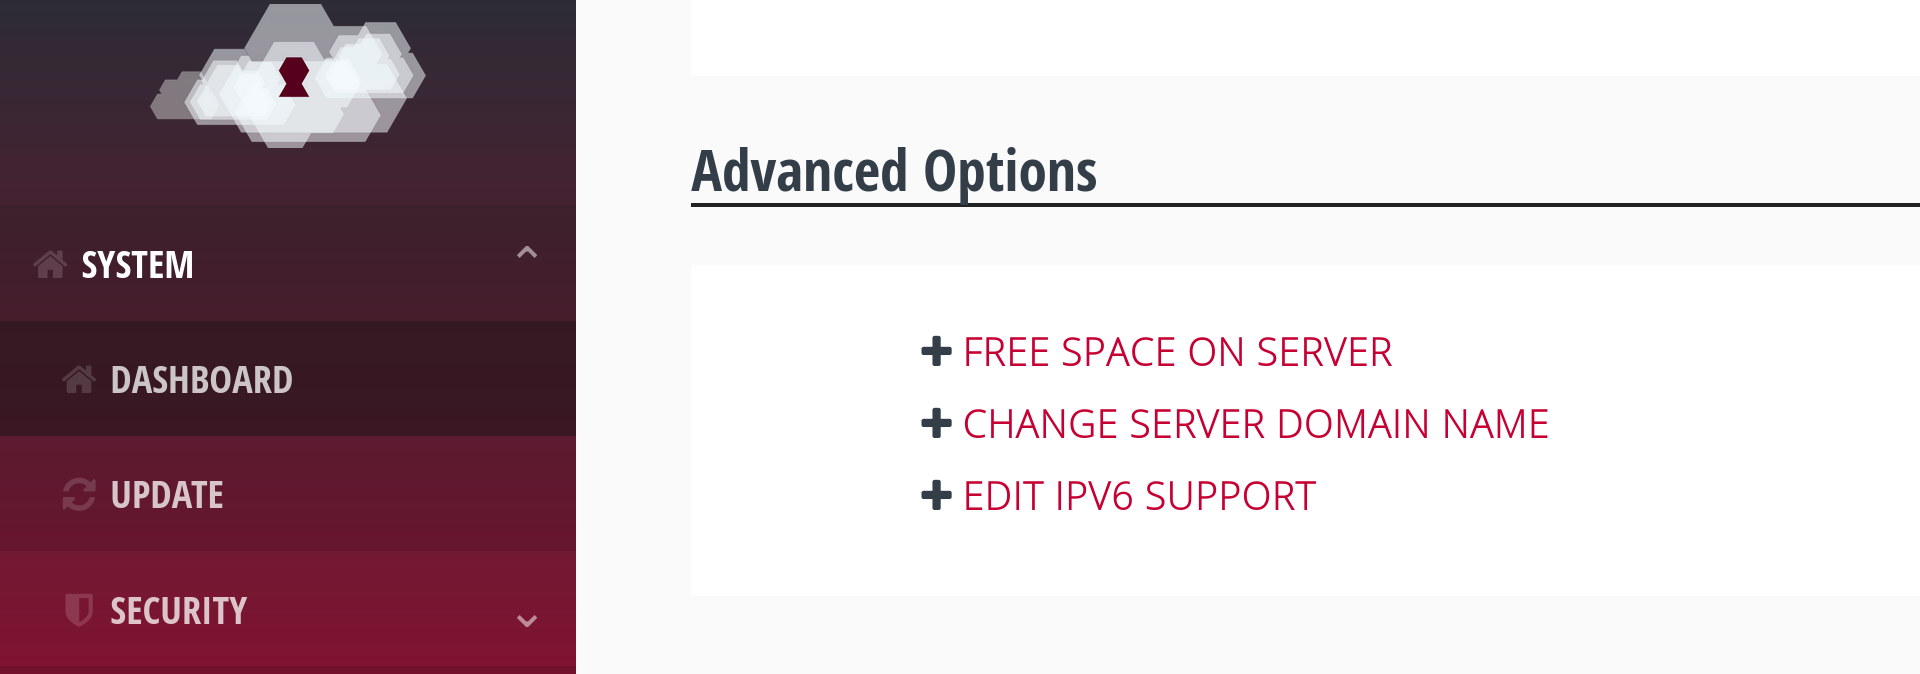
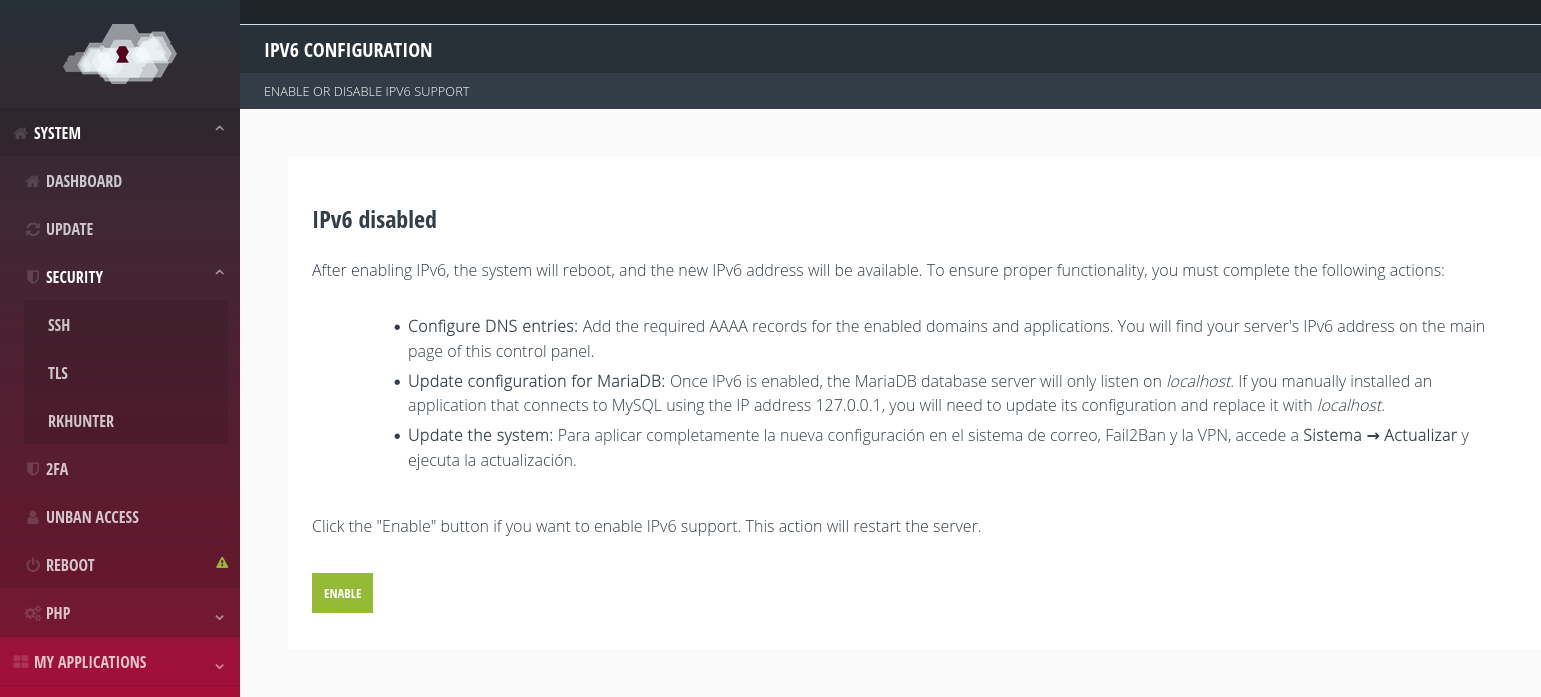
Your MaadiX server includes support for IPv6, the more modern version of the Internet addressing protocol (successor to IPv4). If you want your server to also be accessible via IPv6, in addition to traditional IPv4, you need to enable it yourself by accessing the “Edit IPv6 support” page, which can be found in the Advanced Options section, at the bottom of the control panel’s main page.
Enabling IPv6 does not automatically make applications and domains accessible via IPv6. To do so, you need to complete the following steps:
Configure DNS entries
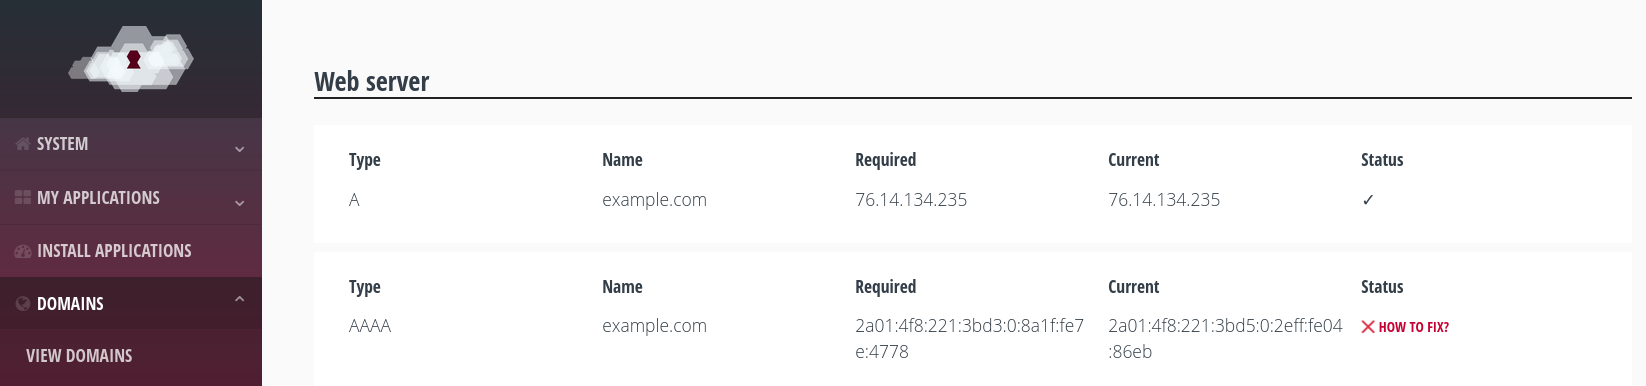
Add the necessary AAAA records for the domains and applications you have enabled. You will find your server’s IPv6 address on the main page of the control panel or in the DNS section of each domain. If IPv6 is enabled, the corresponding value will be displayed. You can check how to create these records in the AAAA record section of the DNS page.
To fully apply the new configuration to the mail system, Fail2Ban, and the VPN, go to System → Update and run the update.
Update MariaDB configuration
Once IPv6 is enabled, the MariaDB database server will only listen on localhost. Applications installed via the control panel will function correctly automatically. However, if you have manually installed an application that connects to MySQL using the 127.0.0.1 address, you must update its configuration and replace it with localhost.